Mise: Dev Tools, Environments, and Tasks in One Place
Tired of juggling tool versions, environment variables, and scattered scripts across your projects? Here's how mise brings them all under one roof.
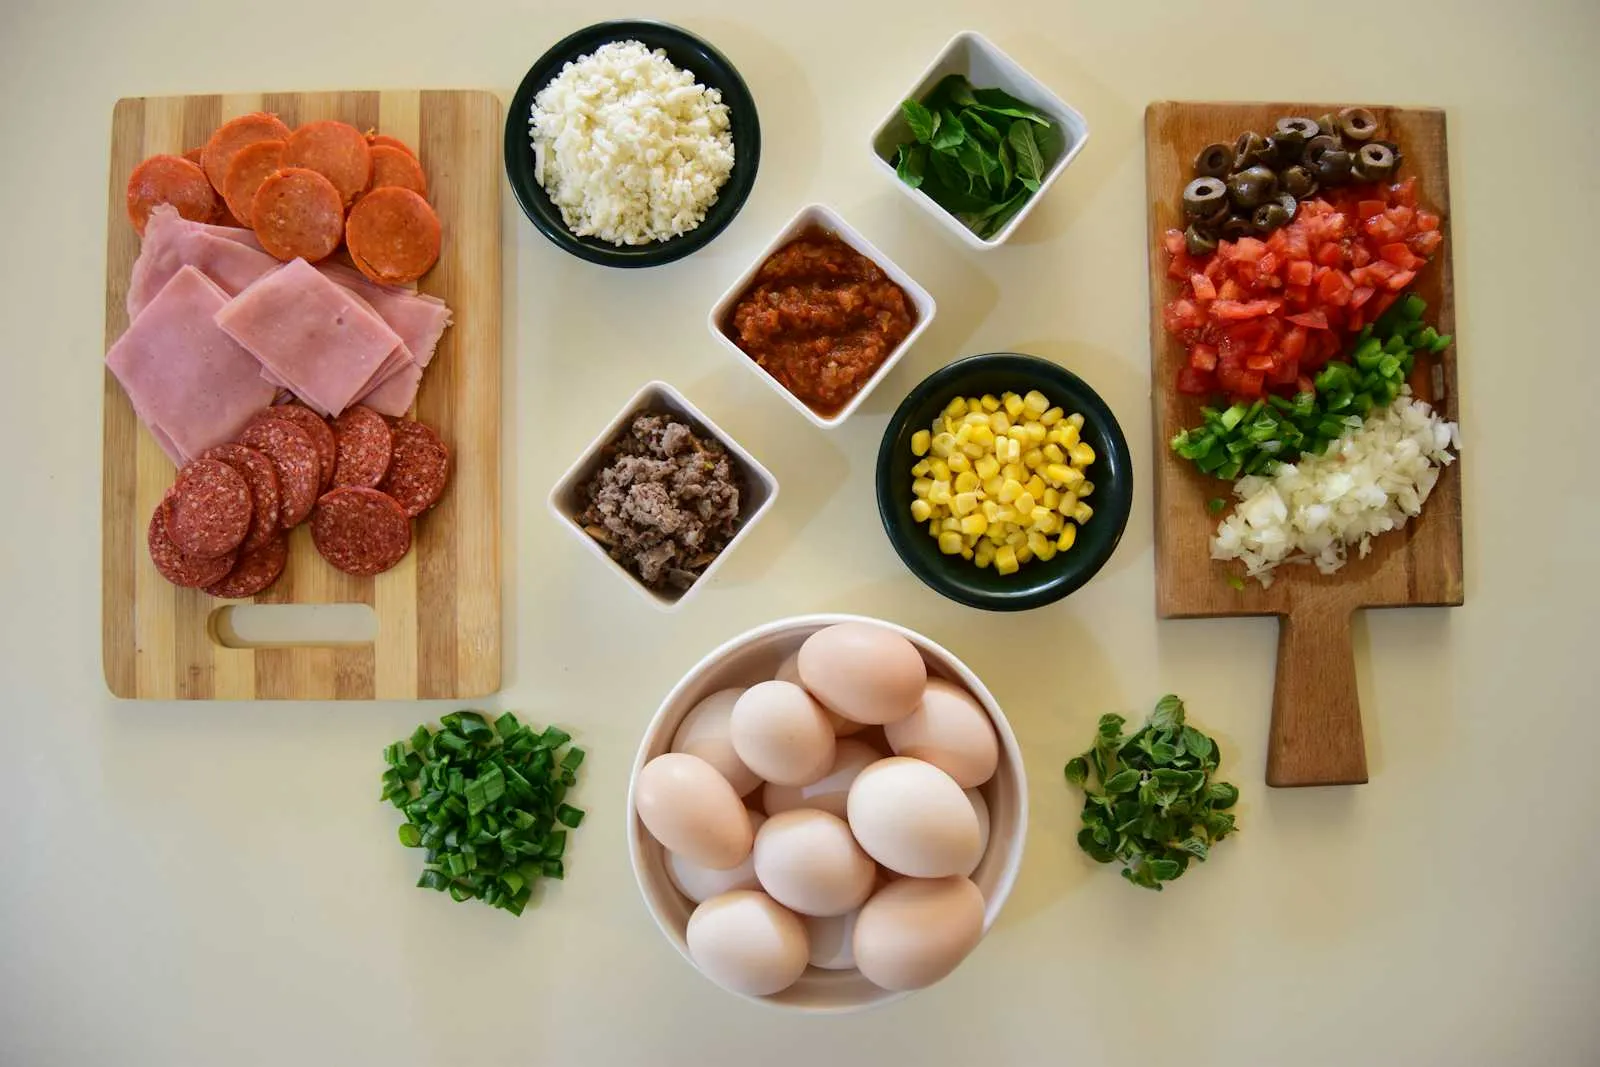
Mise (pronounced “meez”) is a polyglot development environment setup tool. The name comes from the French cooking term “mise en place,” which means “everything in its place.” Just as a chef prepares all ingredients before cooking, mise helps you prepare your tooling, environment, and tasks before coding.
If you juggle multiple projects with different tool versions and repetitive tasks, you know how messy things can get. One project needs Node 20, another needs Node 22. You have dozens of npm scripts, shell commands, and environment variables scattered across different tools. Mise brings everything under one roof with three pillars:
- Dev Tools: Manage runtimes and CLI tools (replaces nvm, pyenv, and asdf)
- Environments: Project-scoped environment variables (replaces dotenv and manual exports)
- Tasks: A task runner with dependency graphs (replaces Make, npm scripts, shell scripts)
Tools
The first pillar of mise helps you manage installations of programming language runtimes and other tools.
Local vs Global Tools
Mise distinguishes between local (project-specific) and global (user-wide) tools.
Local tools are defined in your project’s mise.toml file:
[tools]
node = "25"
rust = "latest"
When you run mise use node@25 in a project directory, it updates the local mise.toml file.
Global tools are defined in your home configuration (~/.config/mise/config.toml). Use the -g flag to install globally: mise use -g node@latest.
Global tools serve as defaults when no local configuration exists. This means you can have Node 25 as your global default, but a specific project can override it with Node 22.
Config files are merged hierarchically, with files closer to your working directory taking higher precedence. From highest to lowest priority.
When mise is activated in your shell, it modifies your PATH and env vars to match the current directory’s tool versions. The recommended approach is to use mise activate in interactive shells (updating the environment on every prompt) and pair it with mise activate --shims for non-interactive contexts like IDEs and CI, where symlinks to the mise binary are placed in a shims directory on your PATH to intercept tool calls. Shims come with tradeoffs: env vars defined in mise.toml are only visible to tools called through a shim, not to the shell directly, and most hooks won’t trigger.
You can also modify your activation script to have a mix of two, based on your workflow.
Core Tools vs Backends
Mise ships with core tools: built-in Rust implementations for popular languages like Node, Python, Go, Rust, Ruby, and Java. These work out of the box with no additional configuration.
For tools not covered by core implementations, mise uses a registry of shorthand names that map to various backends (npm, GitHub, aqua, pipx, cargo, and more). The registry gives you clean short names like pnpm or terraform while the backend handles downloading and installing the tool.
install vs use: mise install downloads a tool but does not add it to any config file. mise use downloads the tool and writes it into your mise.toml. In most cases, you want mise use.
Registry: Hundreds of Tools Ready to Use
Mise includes a registry with hundreds of pre-configured tools accessible via simple shorthand names.
# Install globally without modifying config
mise install -g pnpm@9

# Interactive search and install (also updates config)
mise use -g

# Shows outdated tool versions
mise outdated

# Upgrades outdated tools
mise up

# Run a command with specific tools (shorthand: mise x)
mise exec python@3.12 -- ./myscript.py

# See which tools are active
mise current

# List all installed tools
mise lsTip: mise lock creates mise.lock file in your project and will populate it with exact resolved versions and tarball checksums. This avoids GitHub API rate limits and ensures reproducible installs across machines. Run mise up to update it.
Backends: Install Tools from Anywhere
While the registry covers hundreds of tools via shorthand names, you can also use backends directly with explicit syntax. Backends are the various package ecosystems mise can pull tools from: npm, GitHub, aqua, pipx, cargo, and more. This is useful for tools that are not yet in the central registry, or when you want to pin a specific source.
For instance, I use Linux Fedora Cosmic Atomic and the Ghostty terminal is not yet available on Flathub. Using mise’s GitHub backend (Linux-only for AppImages), I can easily install it and track updates alongside my other tools:
# mise use -g github:pkgforge-dev/ghostty-appimage
# or modify ~/.config/mise/config.toml
[tools."github:pkgforge-dev/ghostty-appimage"]
version = "latest"
bin = "ghostty" # to rename the binary and remove the version number
Then adding the icon manually (~/.local/share/applications/ghostty.desktop):
[Desktop Entry]
Type=Application
Name=Ghostty
Exec=/home/akhansari/.local/share/mise/installs/github-pkgforge-dev-ghostty-appimage/latest/ghostty
Icon=/home/akhansari/Pictures/icons/ghostty.png
Environments
The second pillar of mise helps you manage environments.
Every project needs environment variables: database URLs, API keys, feature flags, and more. Managing these across local development, staging, and production is often messy. Mise solves this by making environment variables part of your project configuration.
Defining Environment Variables
Add environment variables to the [env] section:
# mise.toml (in git, shared with your team)
[env]

# Mark variables as required - mise warns if they are unset
APP_ENV = { required = true }
DATABASE_URL = { required = "Connection string for PostgreSQL. Format: postgres://user:pass@host/db" }

# mise.local.toml (gitignore, your personal values)
[env]
APP_ENV = "development"
DATABASE_URL = "postgres://root:root@localhost"

# Templates reference other env vars
DATABASE_URL = "postgres://root:root@localhost/{{env.APP_ENV}}"

# Redact sensitive values in logs
API_KEY = { value = "super-secret-key", redact = true }
When you enter the project directory, these variables are automatically set. When you leave, they are unset. No more forgetting to export variables or polluting your global shell environment.
You can also set variables from the CLI:
mise set DATABASE_URL="postgres://localhost/dev"
mise set          # lists all env vars
mise unset DATABASE_URL
Configuration Environments
For per-environment config like staging or production, set MISE_ENV and mise loads additional files. For example, MISE_ENV=staging makes mise load mise.staging.toml and mise.staging.local.toml on top of your base mise.toml. These let you override settings per deployment target:
# Use production-specific config
mise --env production run build

# Or set it once
export MISE_ENV=stagingTrust: Config files that use [env], tasks, or hooks must be trusted before they run. Use mise trust to mark a config file as safe. This is a security feature to prevent malicious configs from executing code without your knowledge.
Tasks
The third pillar of mise is the task runner: define and run project tasks for building, testing, linting, deploying, and everyday development workflows.
Every project has commands you run repeatedly: start the dev server, run tests, build for production, deploy. These commands often live in different places, npm scripts, shell scripts, Makefiles, or just in your memory. Mise brings them all together in one place.
Tasks automatically have access to your mise environment: your tools are on PATH, your environment variables are set. No more “command not found” errors because you forgot to activate something.
Defining TOML Tasks
Tasks live in the [tasks] section of your mise.toml. Each task has a name and a command to run:
[tasks.serve]
run = "pnpm run serve"

[tasks.test]
run = "pnpm run vitest"

[tasks.build]
run = "pnpm build"

[tasks.iac-apply]
description = "Creates or updates infrastructure"
dir = "./iac"
run = "tofu apply"
Run any task with mise run:
# Run a task
mise run serve

# Run the task named "default," or interactive search if none exists
mise run

# Run with a specific config environment (loads mise.staging.toml)
mise --env staging run build

# Pass additional params
mise run test --help  # This will show Vitest's help

# Watch files and re-run on changes
mise watch build
Defining File Tasks
You can also define tasks as standalone executable scripts. Create a file in a directory like mise-tasks/ (also recognized: .mise-tasks/, mise/tasks/, .mise/tasks/), add a #MISE metadata comment, and mise will discover it automatically:
# mise-tasks/deploy
#!/usr/bin/env bash
#MISE description="Deploy the app to production"
scp -r ./dist user@server:/var/www/
File tasks have real syntax highlighting and linting support since they are actual shell scripts, not strings embedded in TOML.
Task Composition
Simple tasks are useful, but the real power comes from combining them. Mise offers three dependency types and sequential execution.
Sequential execution (run) runs tasks one after another. If any task fails, the chain stops:
[tasks.check-backend]
run = "pnpm --filter backend check"

[tasks.check-frontend]
run = "pnpm --filter frontend check"

[tasks.check]
run = [
  { task = "check-backend" },
  { task = "check-frontend" }
]
Dependencies (depends) ensure prerequisite tasks run first. Unlike sequential tasks in run, independent dependencies run in parallel by default:
[tasks.podman-push]
depends = ["podman-login"]
run = [
  { task = "podman-push-backend" },
  { task = "podman-push-frontend" }
]
Cleanup dependencies (depends_post) run after the task completes, regardless of success or failure. This is useful for teardown, cleanup, or notification steps.
Soft dependencies (wait_for) wait for other tasks if they are part of the same execution run, but they do not trigger them. This is useful when you want to respect ordering without forcing execution.
The difference between these approaches:
- Sequential (
run): “Run A, then B, then C” - Dependencies (
depends): “Before running this, make sure X is done” (parallel by default) - Cleanup (
depends_post): “After this finishes, always run Y” - Soft dependencies (
wait_for): “If X is already running, wait for it”
Conclusion
Development tooling is full of small annoyances: wrong tool versions, missing environment variables, forgotten commands, inconsistent setups between team members. Each problem is small, but together they waste hours every week.
Mise eliminates these problems with three simple ideas:
- Dev Tools: Define your tool versions in code, switch automatically when you change directories, and lean on the registry and backends for anything not covered by core tools.
- Environments: Keep environment variables with your project, load existing
.envfiles, validate required values, and layer per-environment configs. - Tasks: Write project commands as TOML entries or executable scripts. Compose them into pipelines with dependency graphs. Use
mise watchto rebuild on changes.
That is what “mise en place” means: everything in its place, ready to go.